▲
top
top
自分専用のChrome拡張機能を作りたい
Google Chromeの拡張機能を作ってみる
1.「こんにちは!」を表示させる
2. HTMLを用いてポップアップを表示させる
3. ポップアップで文字数カウンターを作る
4. JavaScriptの記法に癖がある
1. 「こんにちは!」を表示させる
まずは JSON と JavaScript のみの簡単なものを作成する。
ファイル構成
test|- manifest.json (JSONファイル)
|- test.js (JavaScriptファイル)
manifest.json
{
"name": "test",
"description": "テストの拡張機能",
"version": "1.0",
"content_scripts": [{
"js": ["test.js"],
"matches": ["http://*/*", "https://*/*"]
}],
"browser_action": {
"default_title": "テスト"
},
"manifest_version": 2
}
"name": "test",
"description": "テストの拡張機能",
"version": "1.0",
"content_scripts": [{
"js": ["test.js"],
"matches": ["http://*/*", "https://*/*"]
}],
"browser_action": {
"default_title": "テスト"
},
"manifest_version": 2
}
test.js
(ブラウザに「こんにちは!」を表示させる。)
"use strict";
window.alert("こんにちは!");
window.alert("こんにちは!");
JSON と JavaScript を用意できたらいよいよGoogle Chromeに読み込ませていく。
まずはChromeの拡張機能の設定から、「パッケージ化されていない拡張機能を読み込む」を選択し、作成した拡張機能のフォルダ(今回はtestフォルダ)を選択する。
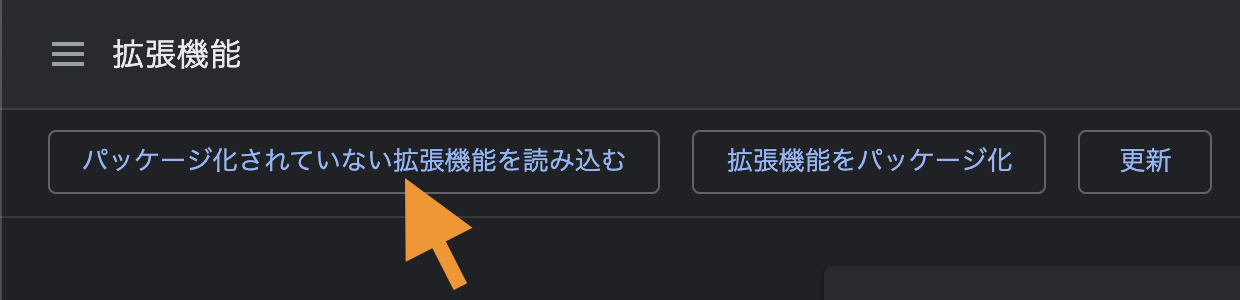
すると拡張機能の一覧に今追加したものが現れる。
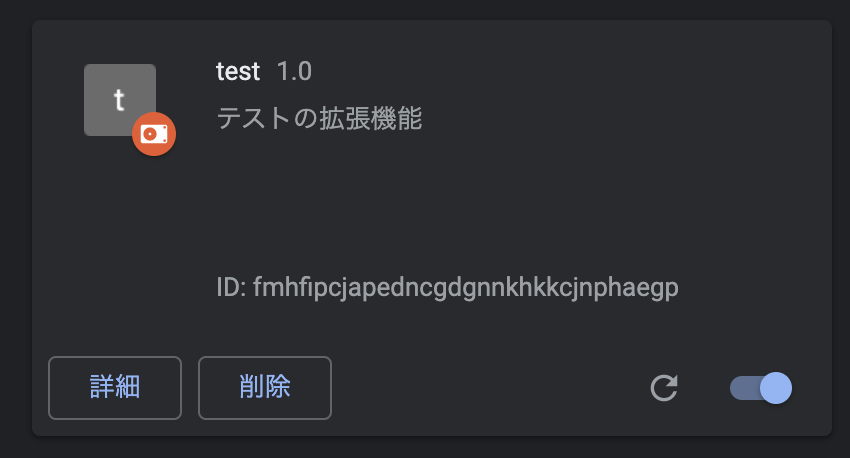
この画像と manifest.json を見比べると、どの引数がどの表示になっているのかがわかるだろう。
この状態で私のホームページを開いてみると、
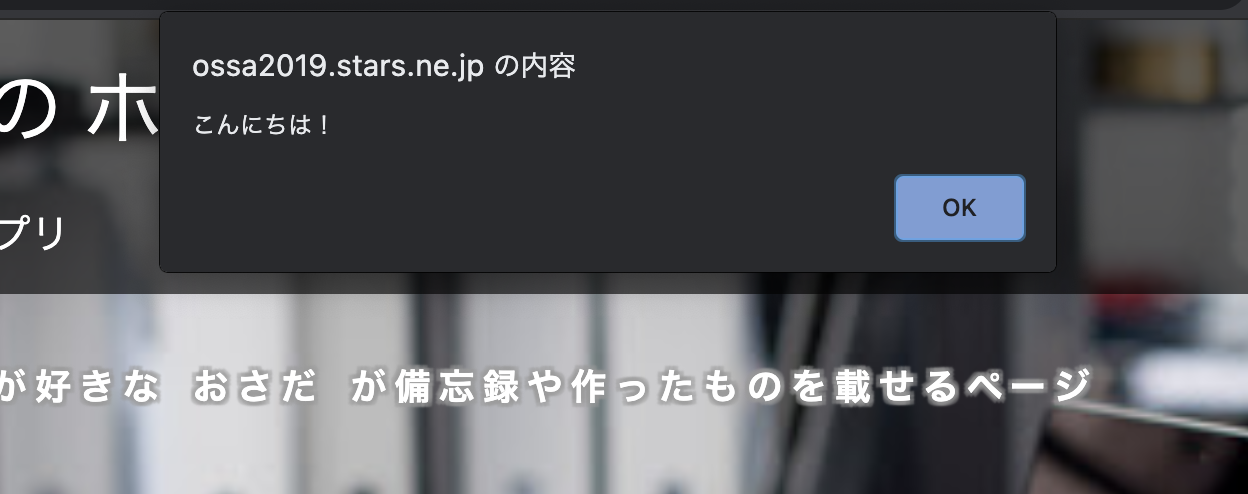
プログラム通りに「こんにちは!」と表示された。
2. HTMLを用いてポップアップを表示させる
ファイル構成
test|- manifest.json (JSONファイル)
|
|- elements
| |- test.html (HTMLファイル)
|
|- css
| |- style.css (CSSファイル)
|
|- js
|- script.js (JavaScriptファイル)
manifest.json
{
"name": "test",
"description": "テストの拡張機能",
"version": "1.0",
"content_scripts": [{
"js": ["js/script.js"],
"css": ["css/style.css"],
"matches": ["http://*/*", "https://*/*"]
}],
"browser_action": {
"default_title": "テスト",
"default_popup": "elements/test.html"
},
"manifest_version": 2
}
"name": "test",
"description": "テストの拡張機能",
"version": "1.0",
"content_scripts": [{
"js": ["js/script.js"],
"css": ["css/style.css"],
"matches": ["http://*/*", "https://*/*"]
}],
"browser_action": {
"default_title": "テスト",
"default_popup": "elements/test.html"
},
"manifest_version": 2
}
test.html
<!DOCTYPE html>
<html>
<head>
<meta charset="UTF-8">
<title>テスト</title>
<link rel="stylesheet" type="text/css" href="../css/style.css">
</head>
<body>
<p>こんにちは!</p>
<script src="../js/script.js"></script>
</body>
</html>
<html>
<head>
<meta charset="UTF-8">
<title>テスト</title>
<link rel="stylesheet" type="text/css" href="../css/style.css">
</head>
<body>
<p>こんにちは!</p>
<script src="../js/script.js"></script>
</body>
</html>
style.css
body{
min-width : 200px;
min-height : 200px;
font-famiry : 'Verdana' 'sans-serif'
}
body > p{
text-align : center;
color : red
}
min-width : 200px;
min-height : 200px;
font-famiry : 'Verdana' 'sans-serif'
}
body > p{
text-align : center;
color : red
}
script.js
// 今回は使わない
コードが用意できれば、先程と同じように拡張機能をChromeに読み込ませる。 また、先程と同じフォルダで作業しているならば拡張機能の設定画面の左上にある「更新」を押すだけで良い。
読み込ませたら、Chromeの画面右上にある拡張機能のマーク(パズルのピースの様な形)をクリックし、作成した「test」をクリックする。すると、
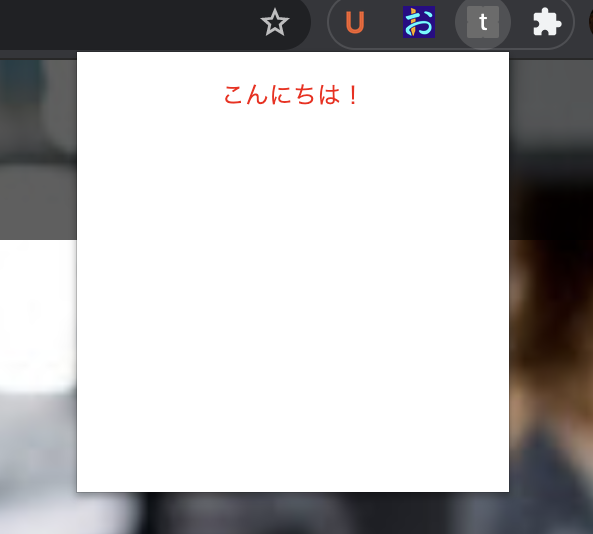
ポップアップをHTMLで表示できることがわかれば、後は通常のWebサイトと同じように編集できる。
3. ポップアップで文字数カウンターを作る
ファイル構成
test|- manifest.json
|
|- elements
| |- textCount.html
|
|- css
| |- style.css
|
|- js
| |- script.js
|
|- img
|- o.png (アイコン)
manifest.json
{
"name": "文字数カウンター",
"description": "文字数をリアルタイムに数えます",
"version": "1.0",
"content_scripts": [{
"js": ["js/script.js"],
"css": ["css/style.css"],
"matches": ["http://*/*", "https://*/*"]
}],
"browser_action": {
"default_icon": "img/o.png",
"default_title": "文字数",
"default_popup": "elements/textCount.html"
},
"manifest_version": 2
}
textCount.html
<!DOCTYPE html>
<html>
<head>
<meta charset="UTF-8">
<title>文字数カウンター</title>
<link rel="stylesheet" type="text/css" href="../css/style.css">
</head>
<body>
<div class=text>
<div class=others>
<div class="box">
<div id="strLen">0 文字</div>
</div>
<div class="box" id="output"></div>
<div class="box">
<p><button id="copyToClipboard">   書いた文章をクリップボードにコピー   </button></p>
</div>
</div>
<textarea id="textArea"></textarea>
<details>
<summary>置換</summary>
<input id="before" size=20> -> <input id="after" size=20> 
<button id="shift">  全て置き換える  </button>
</details>
<p style="text-align:right;">
<a href="https://ossa2019.stars.ne.jp/text.html" target="_blank" rel="noopener noreferrer">Webページ版</a>
</p>
</div>
<script src="../js/script.js"></script>
</body>
</html>
style.css
body{
min-width : 600px;
min-height : 600px;
font-family : 'Verdana' 'sans-serif';
}
.box{
display : table-cell;
vertical-align : middle;
}
.text{
margin : 5%;
margin-top : 0px;
width : 90%;
}
.others{
width : 100%;
padding-bottom: 5px;
display : table;
table-layout :fixed;
}
.others > .box > p{
text-align : right;
}
textarea{
width : 100%;
height : 420px;
font-size : 2.5vw;
}
#output{
color : #ee2222;
}
script.js
"use strict";
// 文字数カウント
document.addEventListener("DOMContentLoaded", function(){
const ct = document.getElementById("textArea");
ct.addEventListener("keyup", function(){
const xs = document.getElementById("textArea").value;
let len = xs.length;
for(let i = len; i--;){
if(xs[i] === "\n"){
len--;
}
}
console.log(len);
document.getElementById("strLen").innerText = len + " 文字";
document.getElementById("output").innerHTML = "";
});
});
// クリップボードにコピー
document.addEventListener("DOMContentLoaded", function(){
const cp = document.getElementById("copyToClipboard");
cp.addEventListener("click", function(){
const copyTarget = document.getElementById("textArea");
copyTarget.select();
document.execCommand("Copy");
document.getElementById("output").innerHTML = "クリップボードにコピーしました!";
});
});
// 置換
document.addEventListener("DOMContentLoaded", function(){
const sf = document.getElementById("shift");
sf.addEventListener("click", function(){
const before = document.getElementById("before").value;
const after = document.getElementById("after").value;
const xs = document.getElementById("textArea").value;
document.getElementById("textArea").value = xs.split(before).join(after);
document.getElementById("output").innerHTML = before+"を"+after+" に置換しました!";
});
});
o.png

これも同様にChromeに読み込ませ、右上の拡張機能マークより「文字数カウンター」をクリックする。
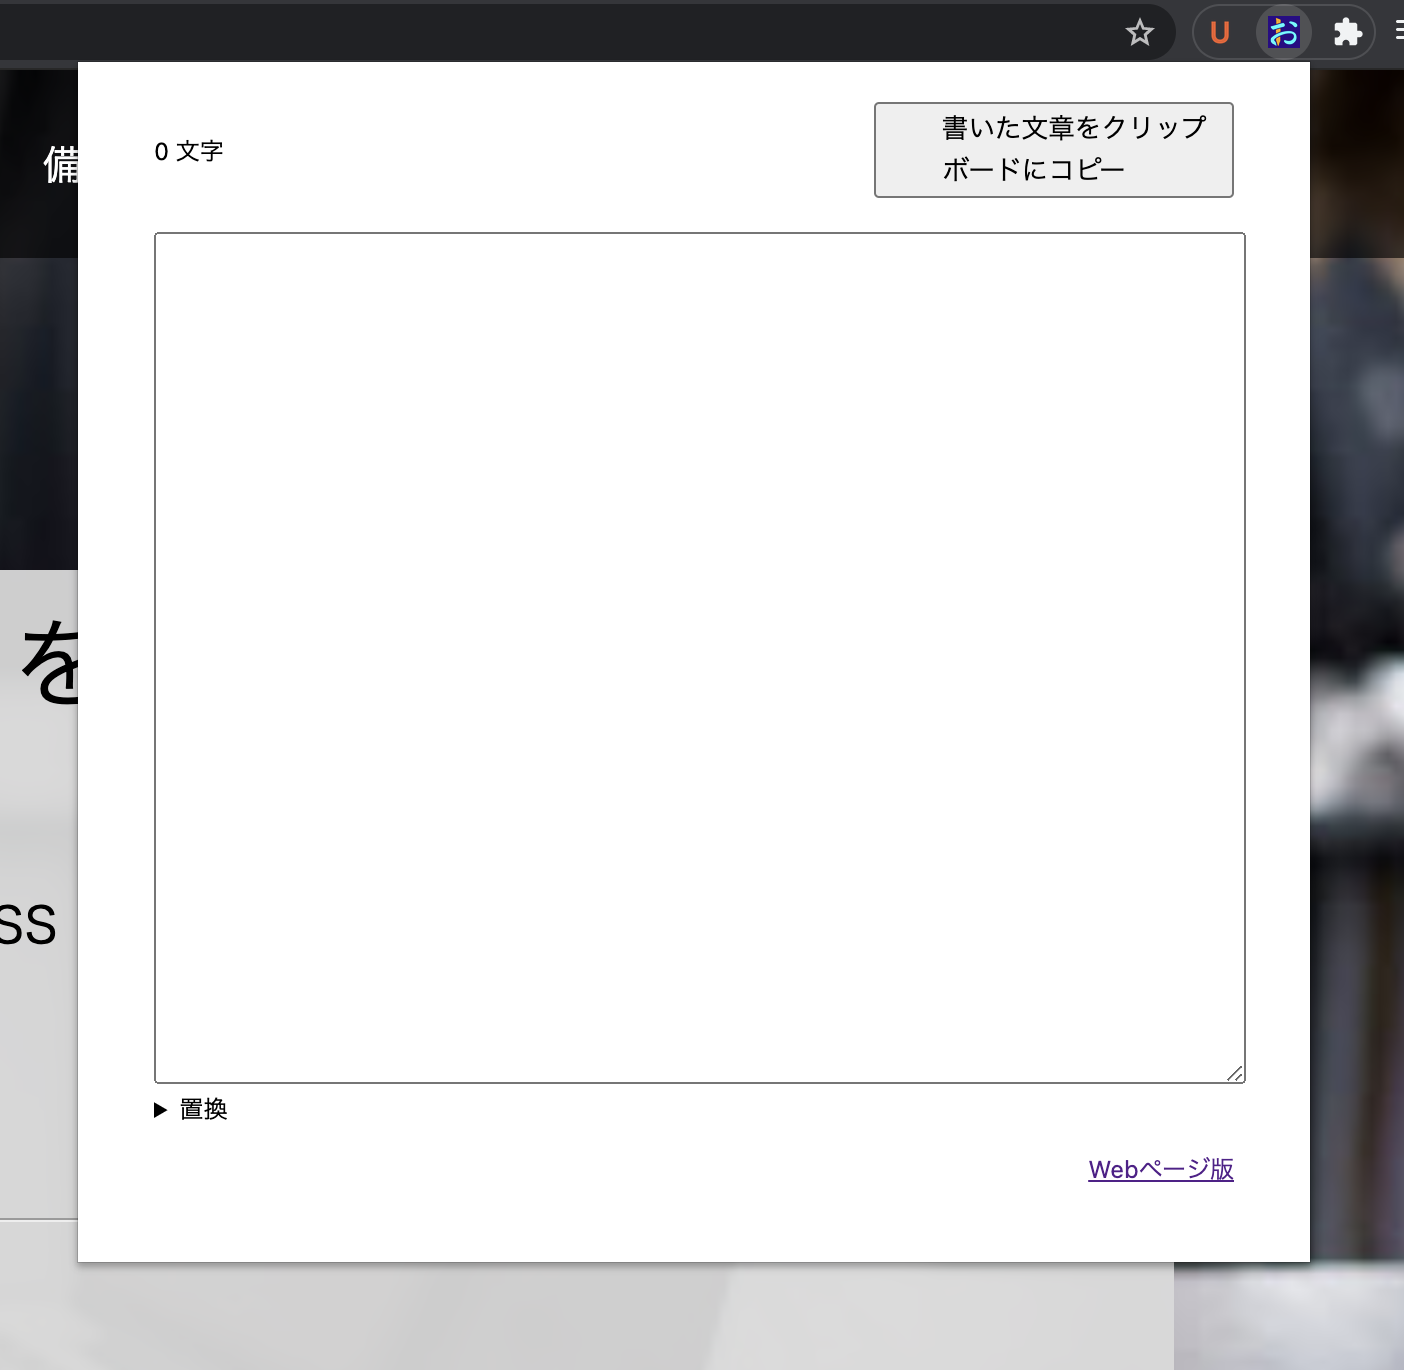
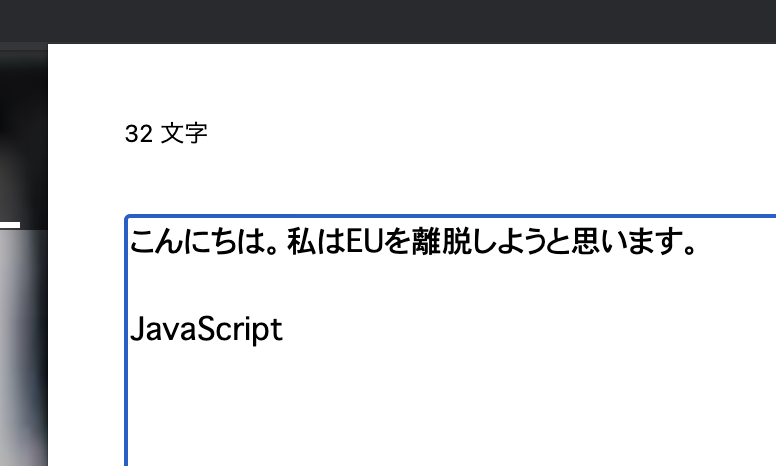
このテキストエリアに文字を打ち込めばリアルタイムに文字数を数えてくれる。
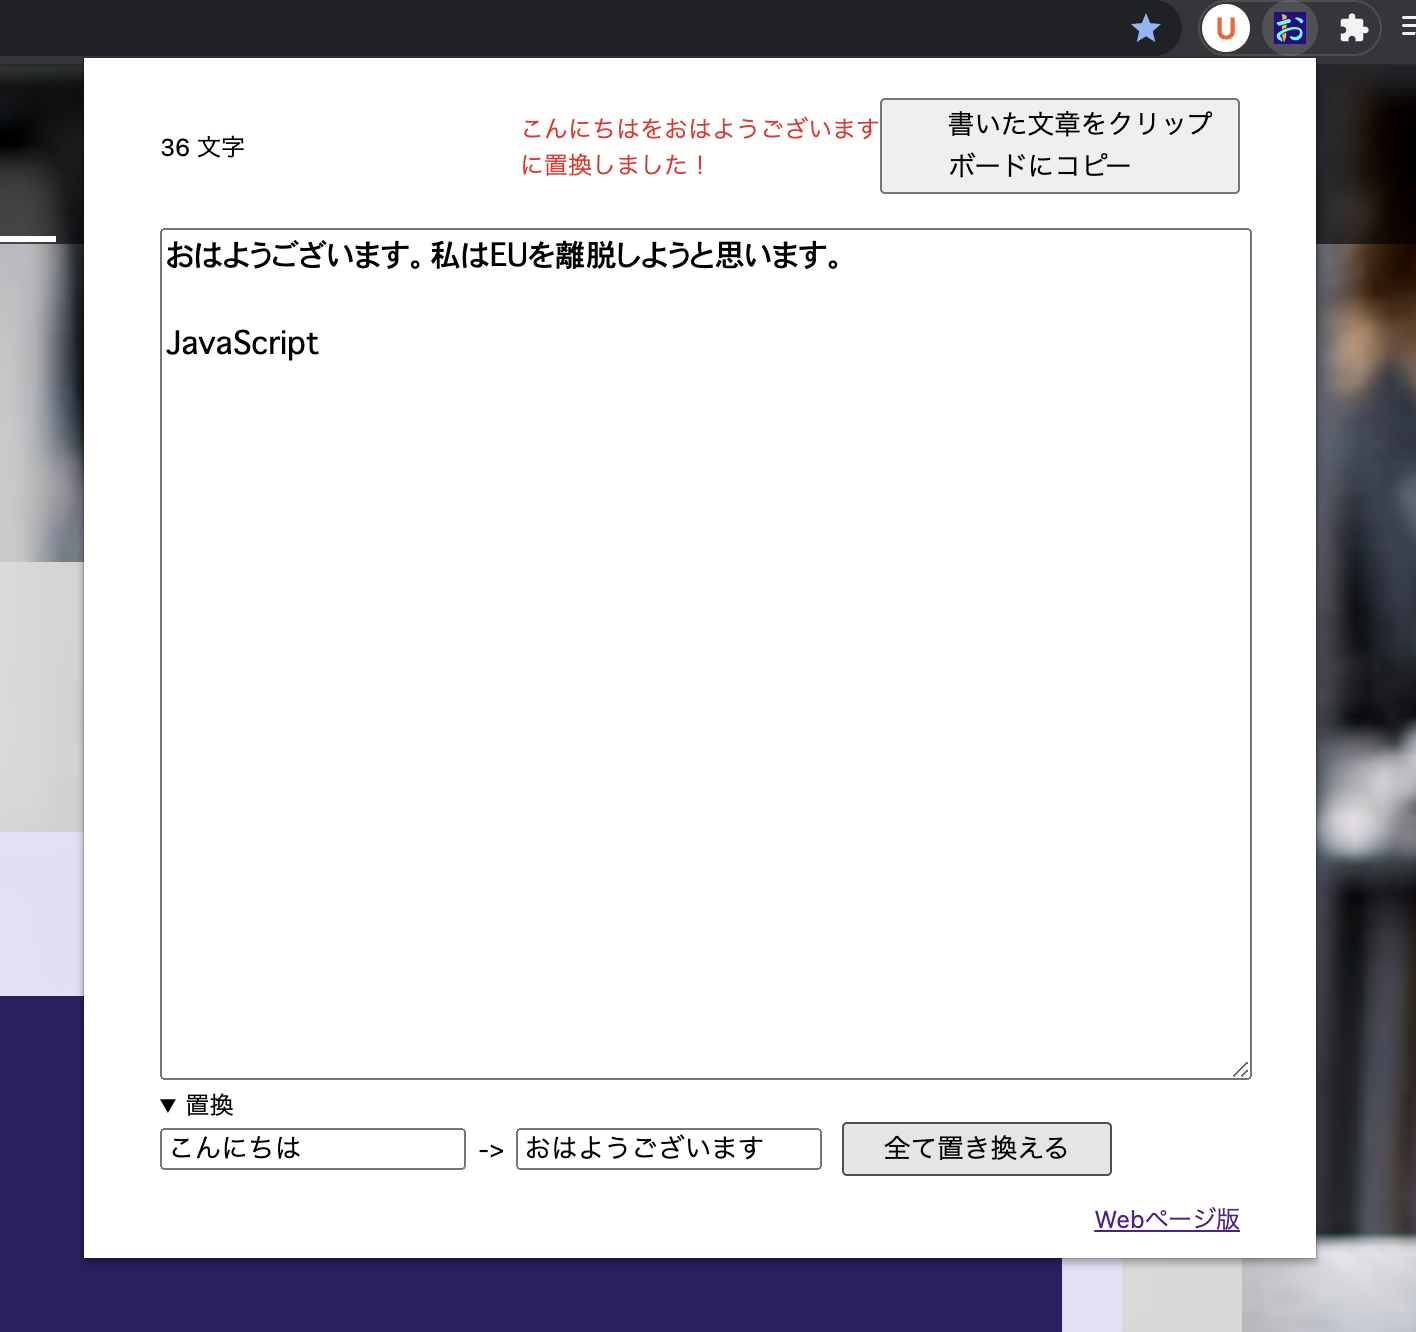
また、下の折り畳み欄から文字の置換ができ、右上のボタンから書いた文章をクリップボードにコピーできる。
4. JavaScriptの記法に癖がある
ここまで紹介したようにHTMLとJavaScriptを用いて通常のWebサイトと同様に様々なWebシステムを作成することができるが、JavaScriptの書き方に少し癖があることを留意する必要がある。普段の書き方でボタンを作ろうとすると、
HTML :
<button onclick="func()">ボタン</button>
JavaScript :
function func(){
// 何らかの処理
}
// 何らかの処理
}
このように書けるが、拡張機能の場合は onclick や onkeyup などの属性が使えないので代わりに id と addEventListener 属性を用いる必要がある。
上記のプログラムを拡張機能で使えるように書き直すと下の様になる。
HTML :
<button id="func">ボタン</button>
JavaScript :
document.addEventListener("DOMContentLoaded", function(){
const val = document.getElementById("func");
val.addEventListener("click", function(){
// 何らかの処理
});
})
const val = document.getElementById("func");
val.addEventListener("click", function(){
// 何らかの処理
});
})
addEventListener を詳しく見ると、通常の onclick 属性の代わりに click を引数に渡していることがわかる。このように、onclick は click 、onkeyup は keyup というように各属性から「on」を取った文字列に対応していることが多い。詳しくは「javascript chrome 拡張機能 (やりたいこと)」のような文言で適宜検索していただきたい。
にっきのページに戻る